
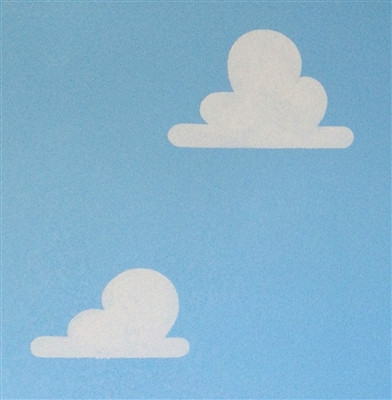
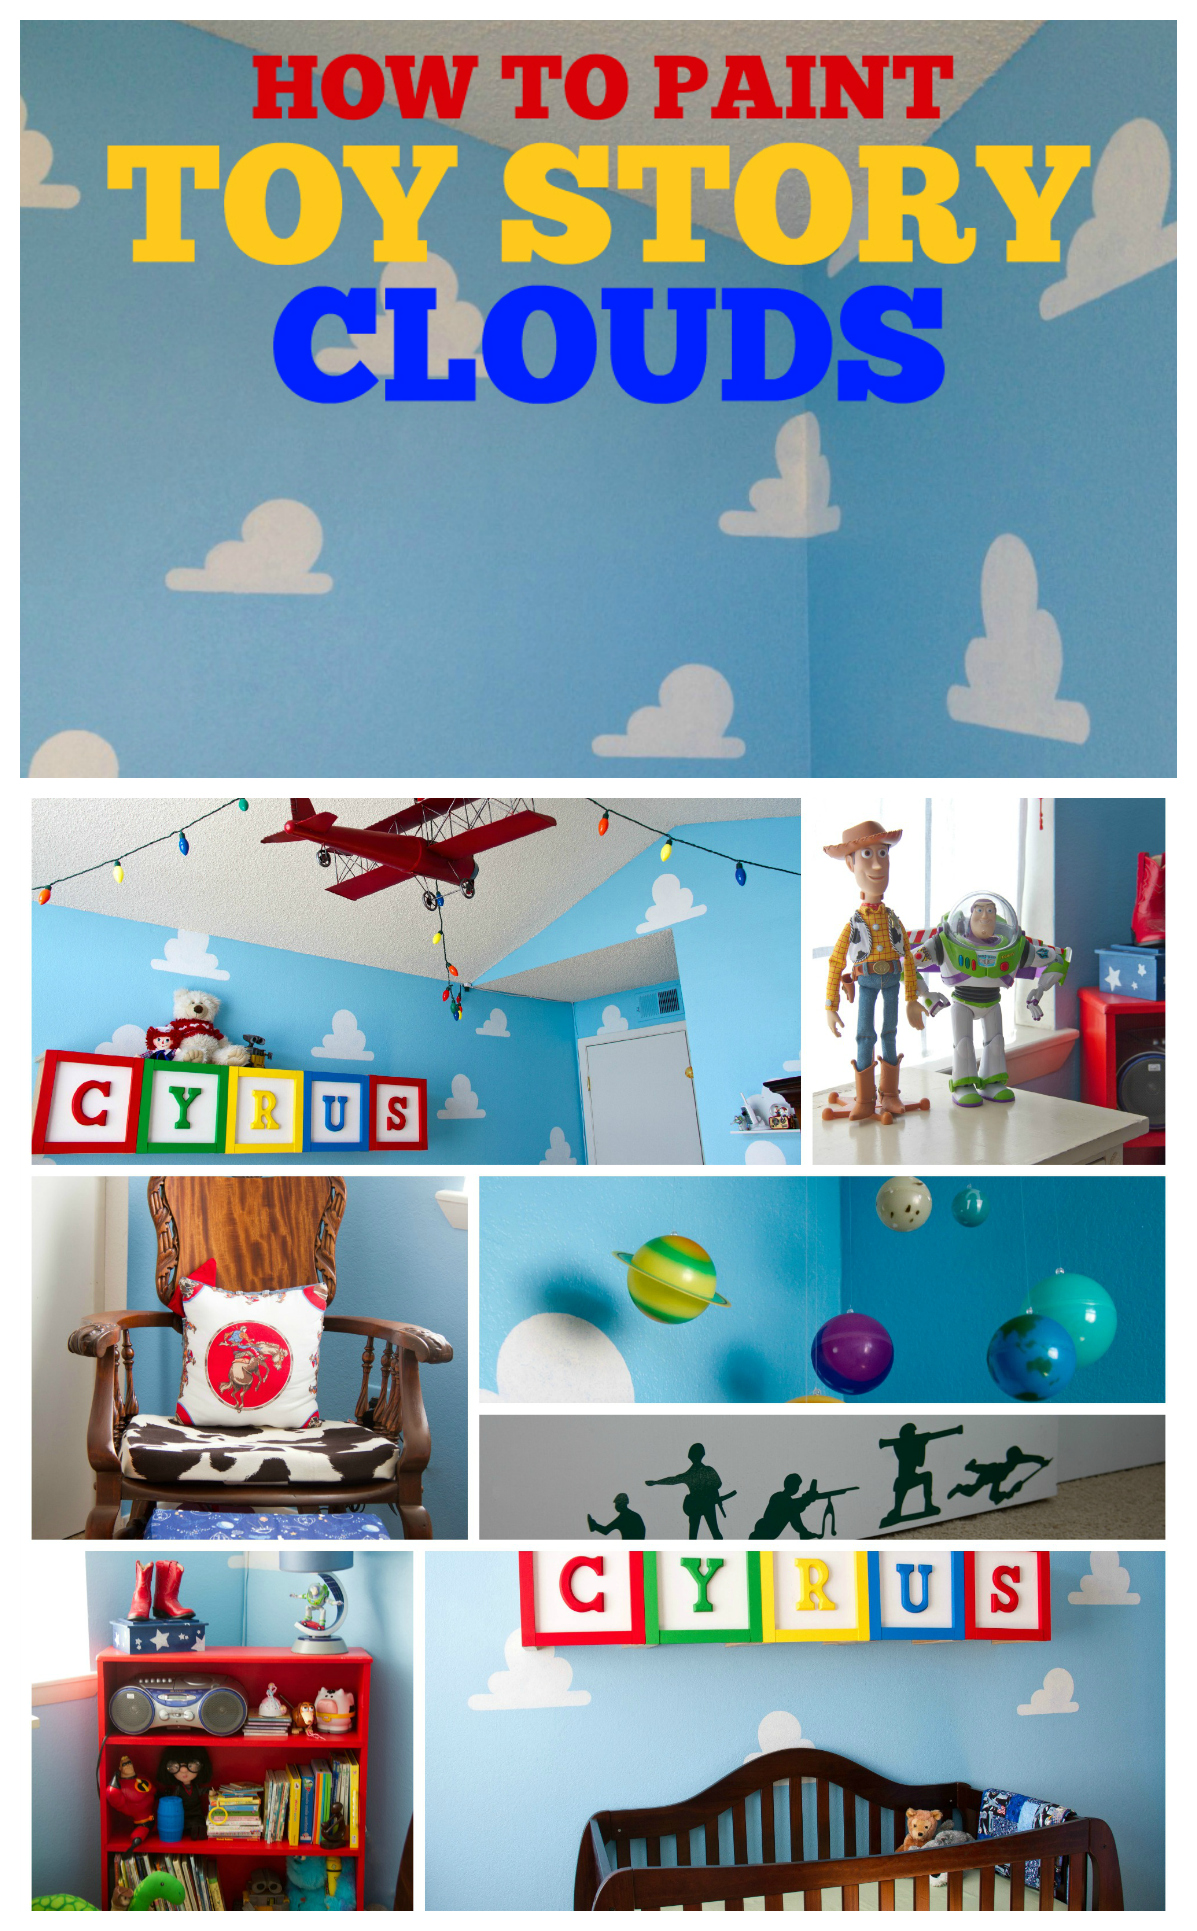
The blue paint color is Benjamin Moore “Grandma’s Sweater” #787, carefully selected after much scrutiny to be the perfect Toy Story blue. We actually had it matched at our local paint shop to be zero VOC which is much healthier for babies. The blue was done in an eggshell finish and the white clouds were done in a flat paint so they would look puffier.
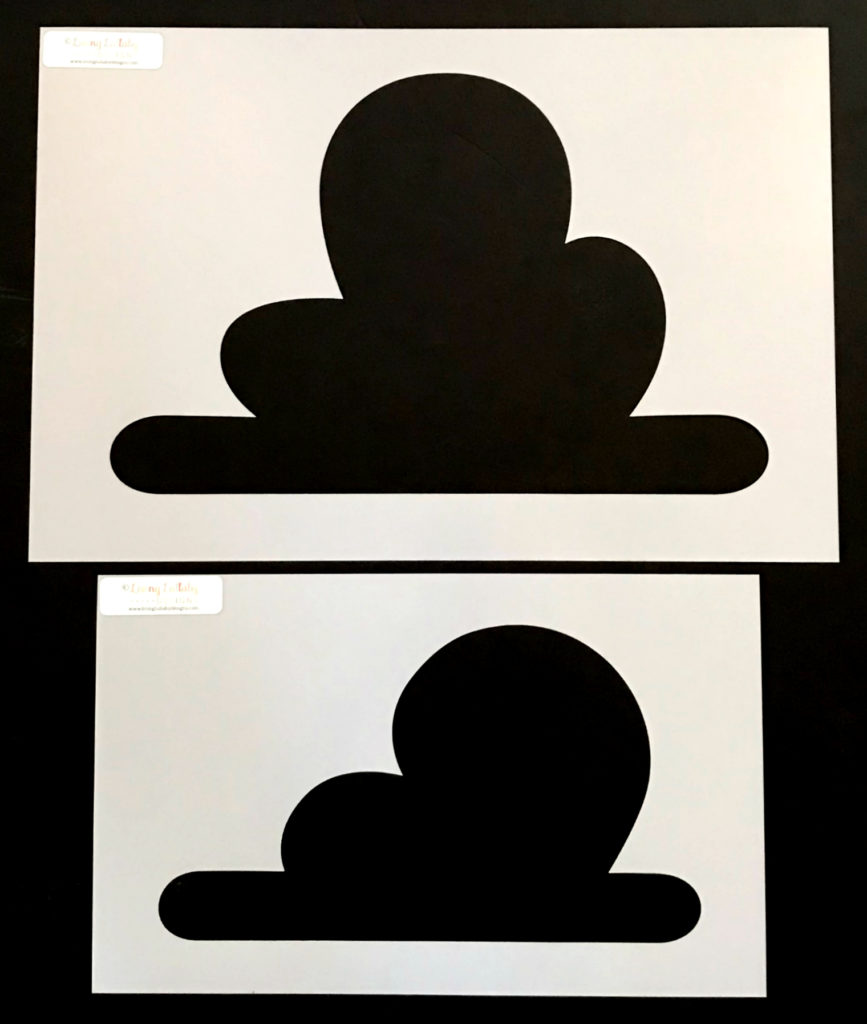
We looked in Toy Story art books to get the shape and pattern of the clouds right. There is a big cloud and a little cloud and they are in a diagonal pattern.
Originally we drew the clouds by hand on large pieces of paper and then made stencils out of a large rigid plastic sheet made for stenciling. Eventually we refined the design and got a laser cutter to make them to sell since demand was high. The ones we sell are very high quality.
If you need to go around corners or up onto a ceiling, you can trace the stencil onto file folders or a large piece of cardboard and bend it as necessary.
Figuring out the placement of each cloud was actually quite challenging. Whatever you do, figure this out before you start painting.
My background is in kitchen design, so I am used to doing cabinetry lay-outs and figuring out spacing and symmetry in a given space. I used my design software to draw the room to scale and place each cloud in it. You could do this by hand with a scale ruler on a piece of paper too. (I would use ½” = 1’.)
The large cloud stencils we made were approximately 17” w X 11” h. And the small cloud stencils were 14”w X 8”h. The spacing of them depends on the size of your room. We were dealing with a fairly large room so we could space them further apart, but if your room is smaller you may want to put them closer together. This diagram is an example of how we spaced them.


Starting at the doorway or closet door is a good place to begin because your pattern might not match up exactly when you circle around and get back to the doorway. But the door offers a nice natural break in the pattern. There is no need to paint clouds on the bottom third of the room because the furniture will cover up most of that anyway.
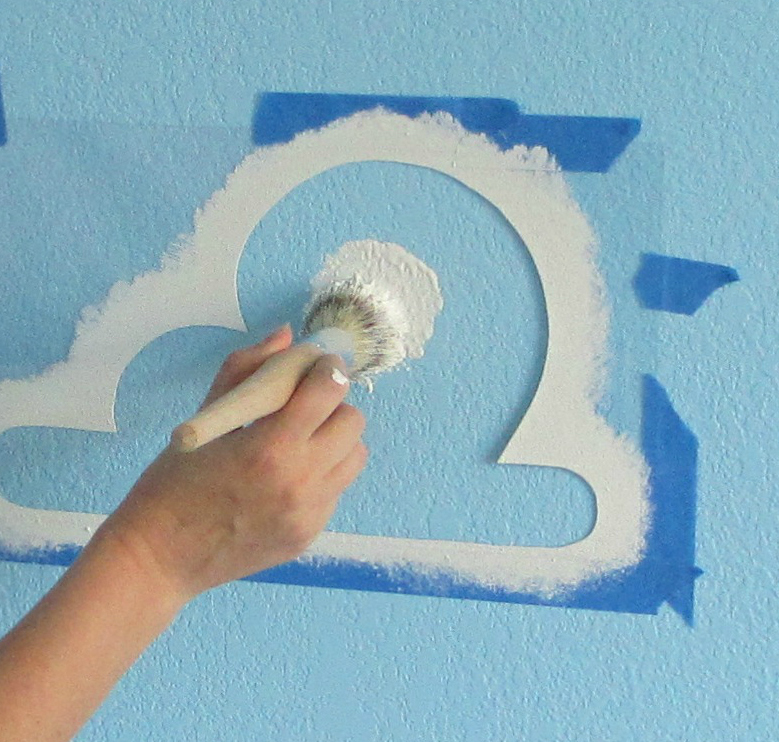
After painting the walls blue and letting that dry, you can begin the stenciling. This is a two person job. We followed our diagram to measure the distance from the floor and corner for each stencil. We marked the corner position of the stencil with a pencil, and used painter’s tape to tape the stencil in position.
(You can also use spray on repositionable adhesive which we highly recommend. It reduces leaks around the edge of the stencil, especially if you press every part of the edge down with your finger or a wallpaper roller. We use Krylon Easy-Tack. Remember though, that part of the charm of a stencil is that they look handmade, so they don’t need to be perfect.)
We then used a stipple brush to paint the clouds white. We had one person placing the stencil in position and one person painting so we could move faster.
When we got to a cloud that needed to be curved around a corner or up against a ceiling, we used the file folder stencils since they were more bendable. (We didn’t paint the clouds on the ceiling, just the walls, but sometimes the stencil had to be bent up against the ceiling.)
See our Behind the Scenes blog here about the original Toy Story Room.
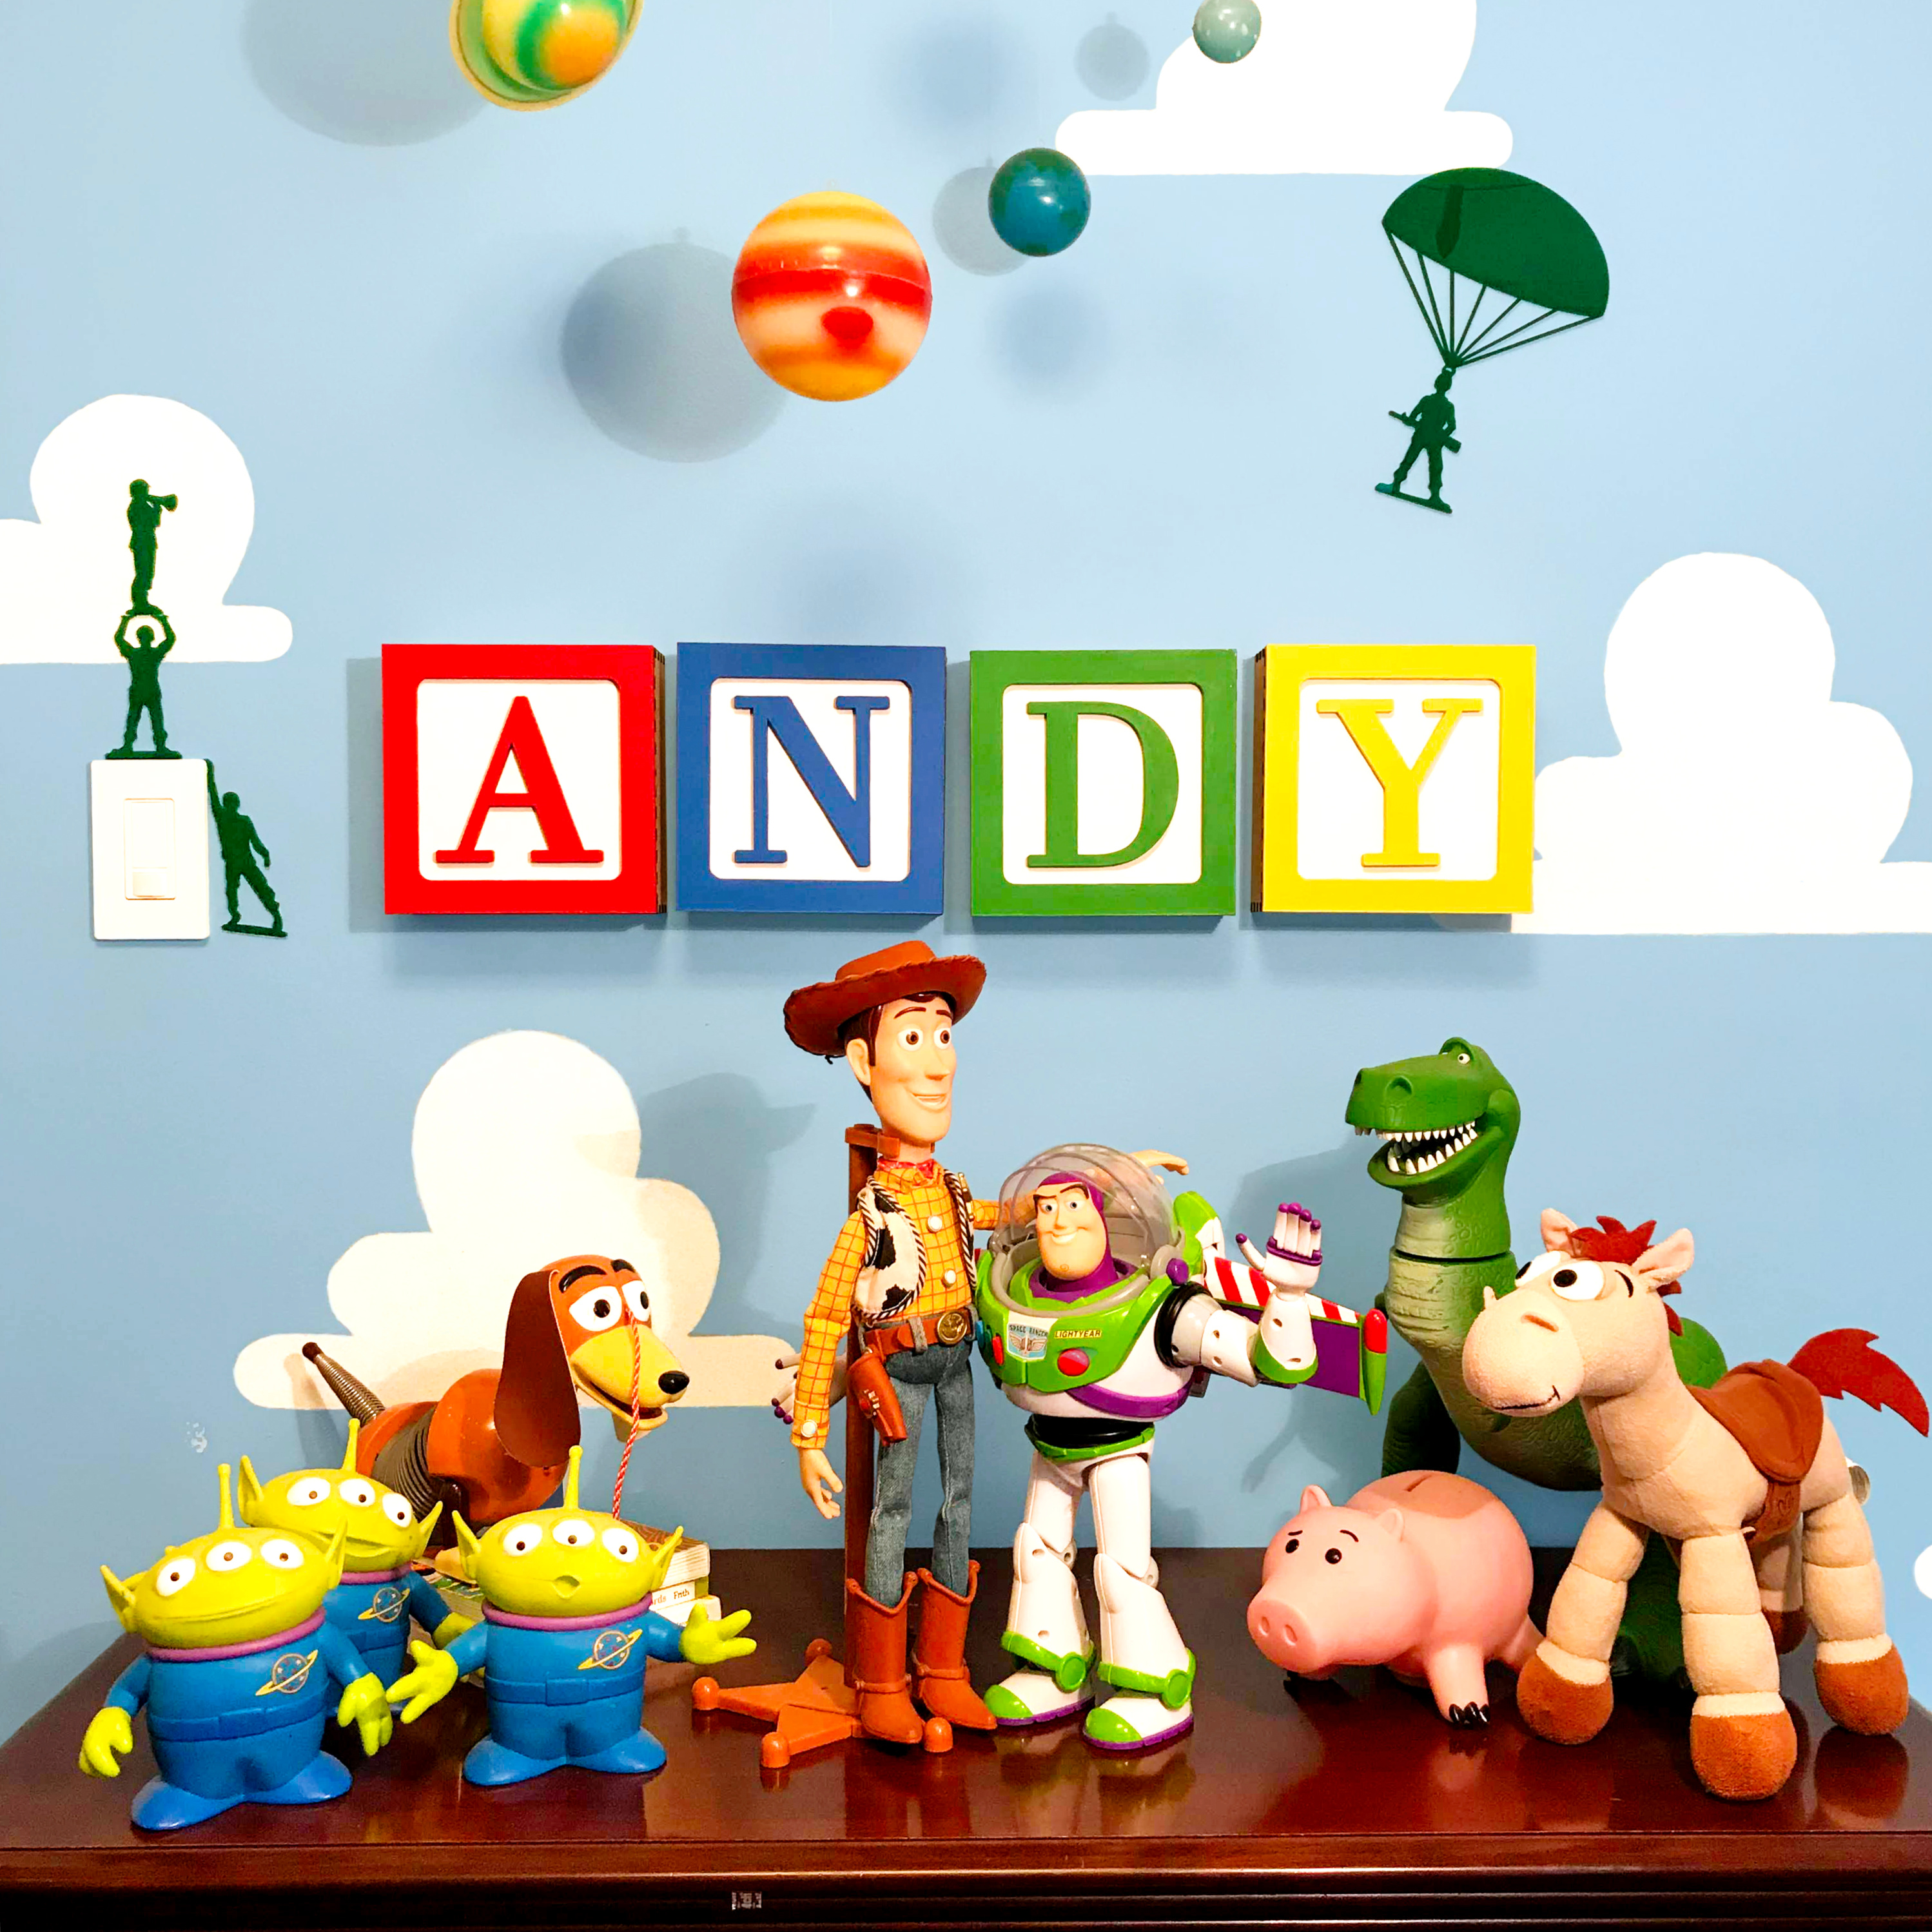
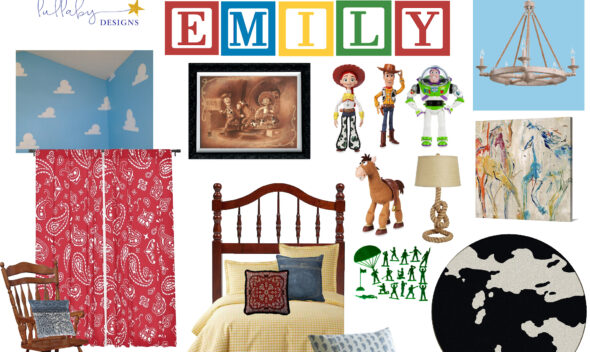
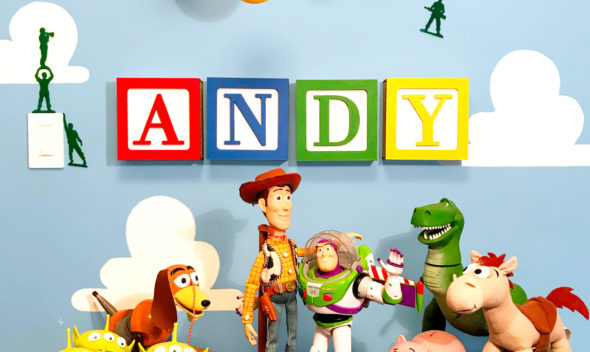
Since it’s creation we have also started making and selling the block letters and the army men. Click here to see the whole Toy Story Collection. (Also on Amazon or Etsy.)
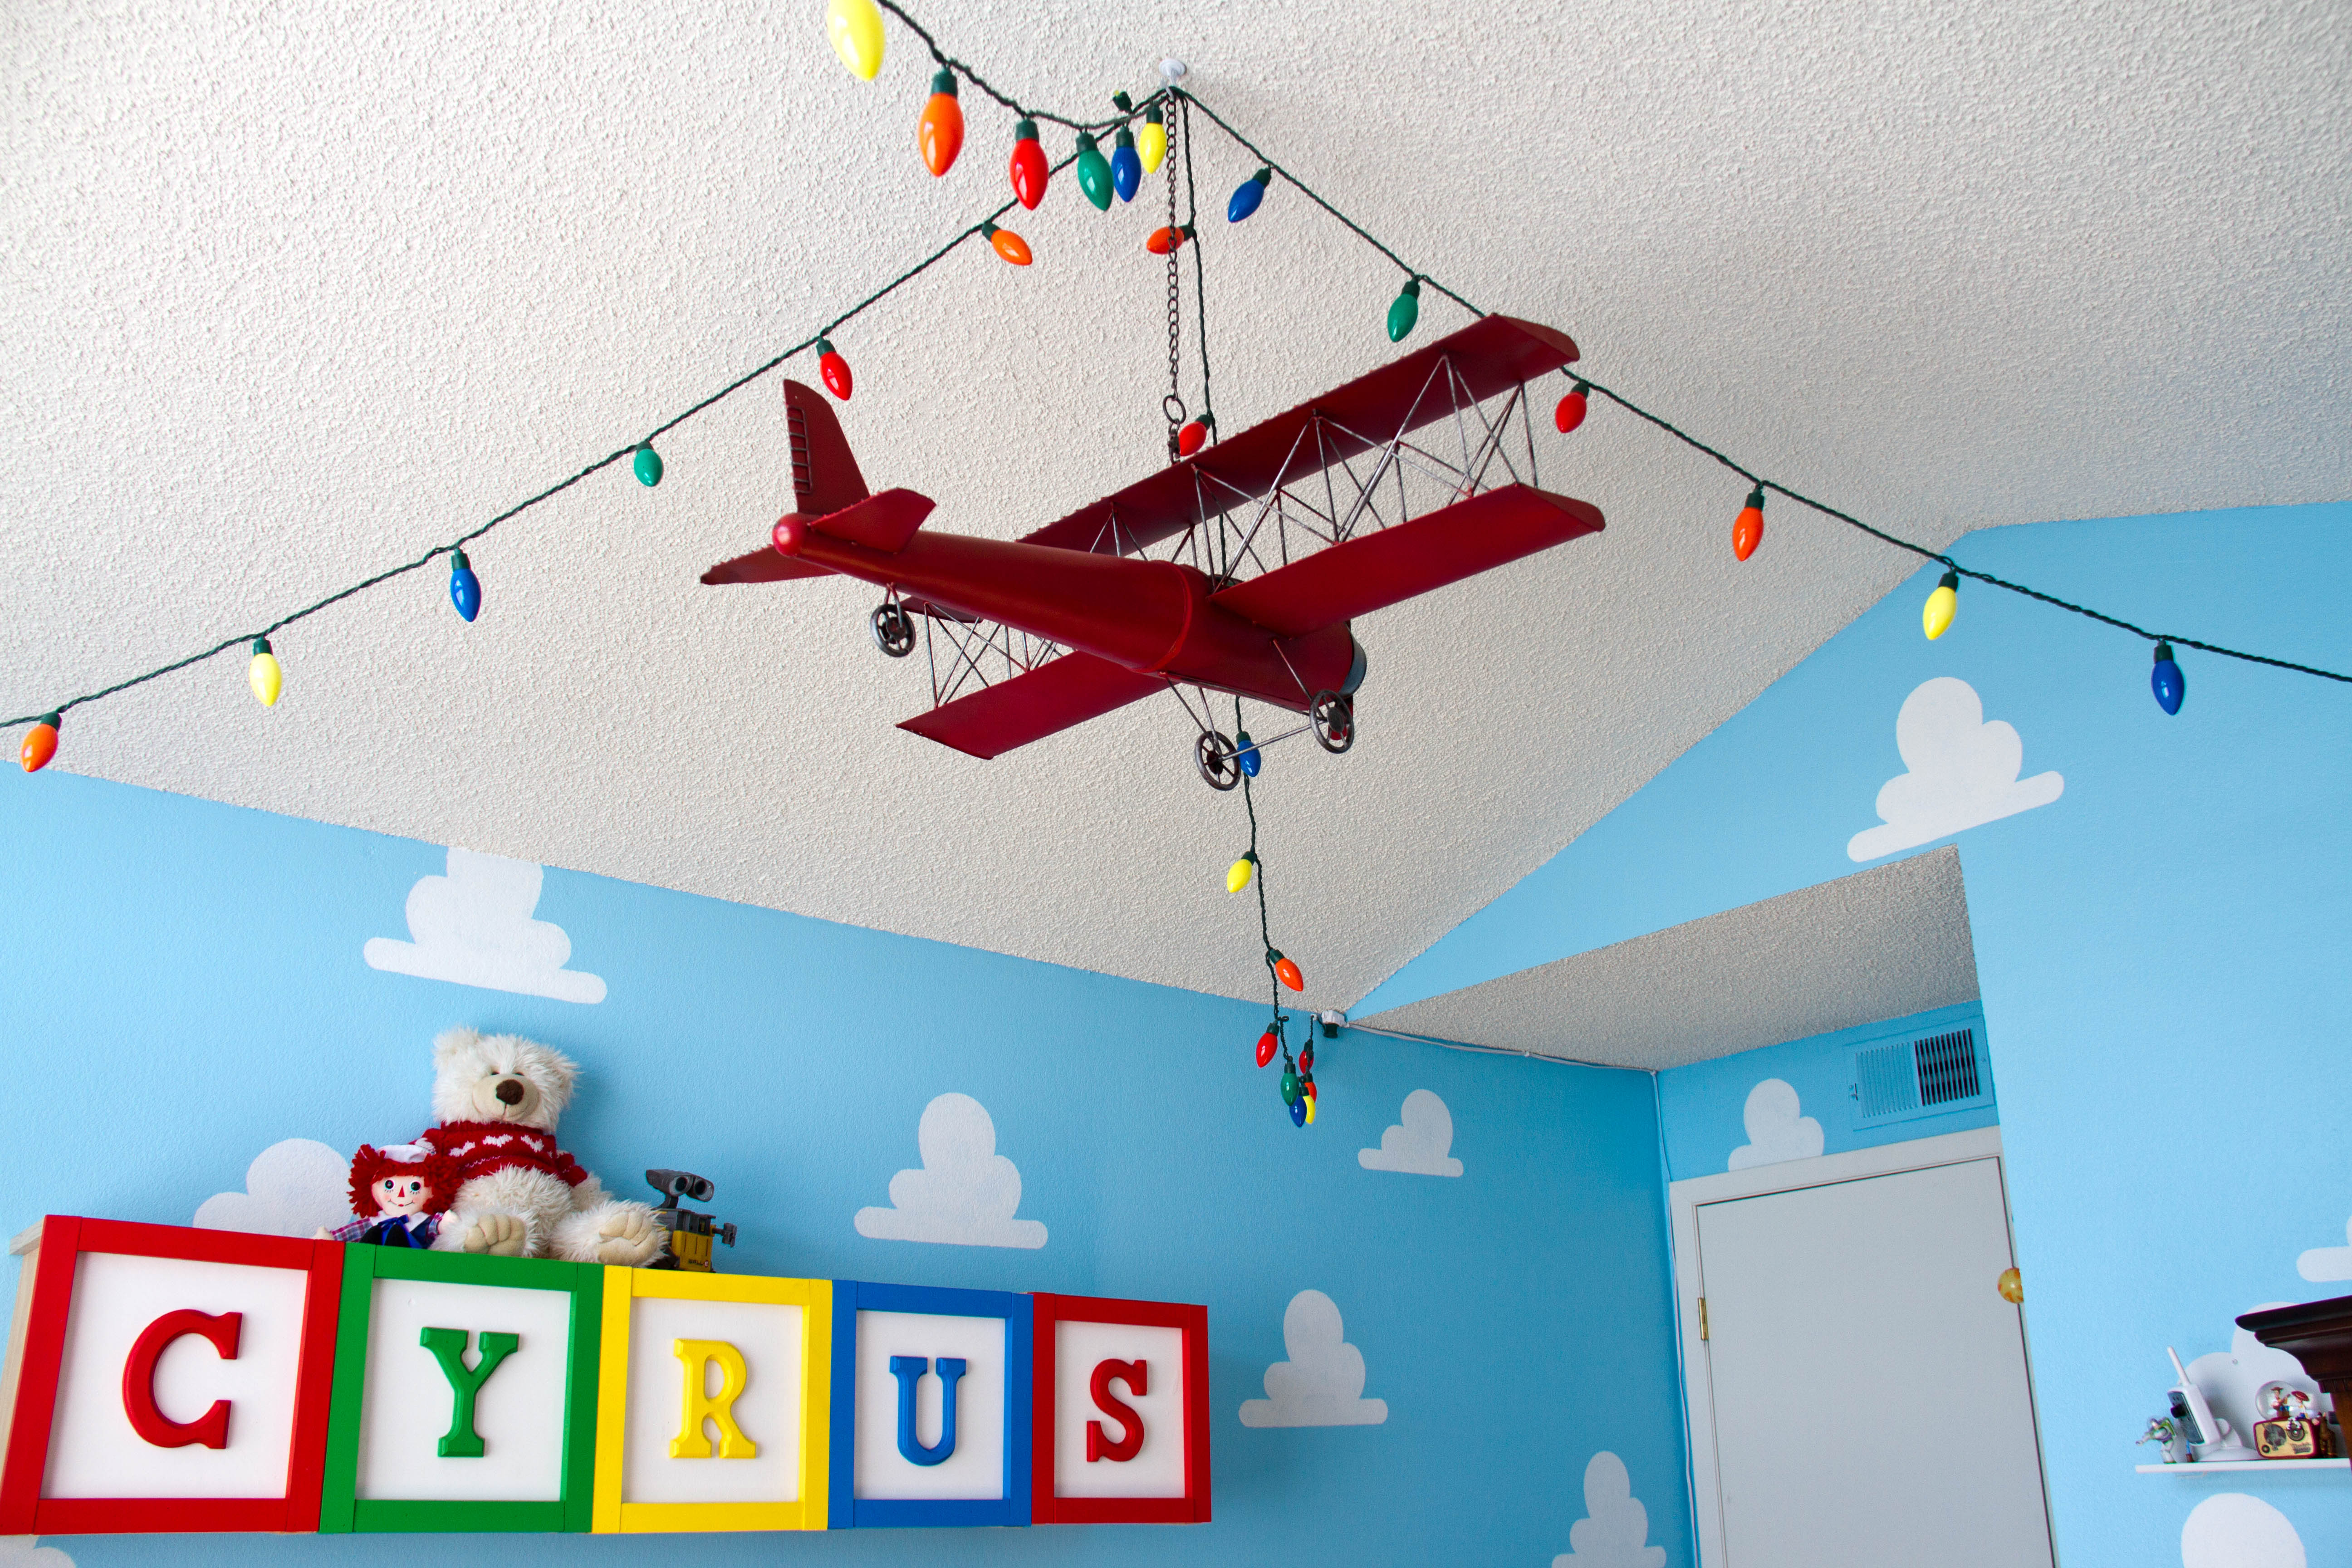
After a very long day and some perseverance, we were able to finish and appreciate our work. And months later when baby Cyrus showed up to admire our room, the look on his little face was all worth it.


Want more fun tips for nurseries and kid’s rooms? Sign-up for email updates and find us on social media!
Blessings!


Hi there!
Love your toy story room, my boy is buzz and woody mad so looking to replicate something similar. How did you go about creating the Cyrus name in building blocks on the wall? Looks fantastic!!